
Print passport photos at DM step by step 2025
Update on 17.07.2025
In this guide, we show you how to print your passport photos at DM.
Requirement
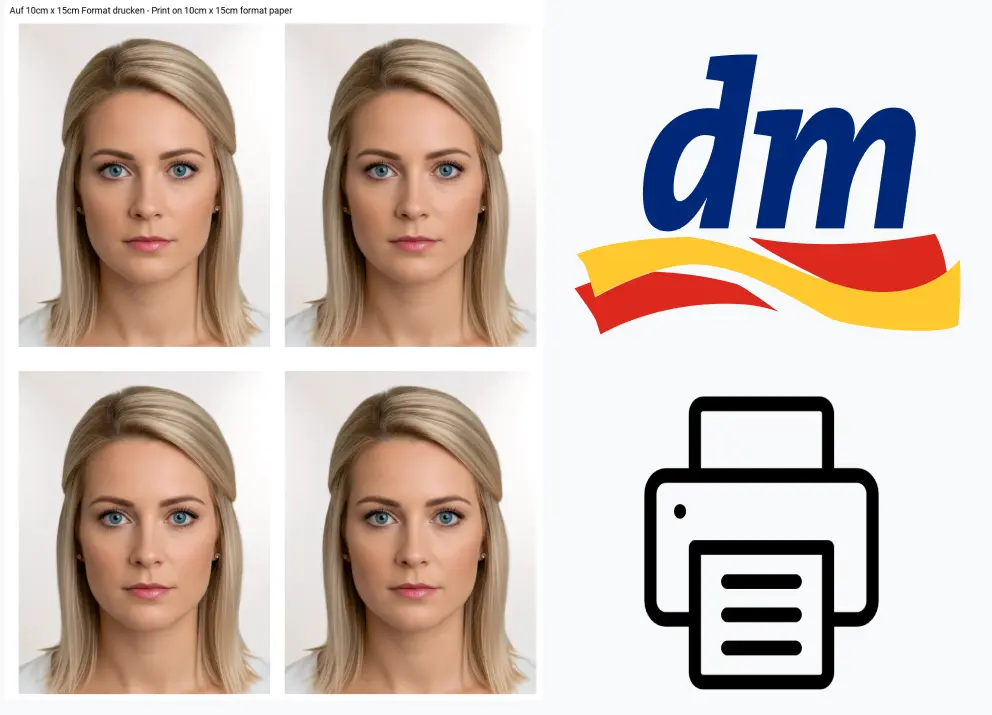
You need a 10 x 15cm template with passport photos, as the printing of individual passport photos is no longer supported.
Table of contents
Steps for users with purchased photos
Steps 1-3 are only relevant if you purchased a passport photo from our website. If you have your own photo template, skip to step 4.
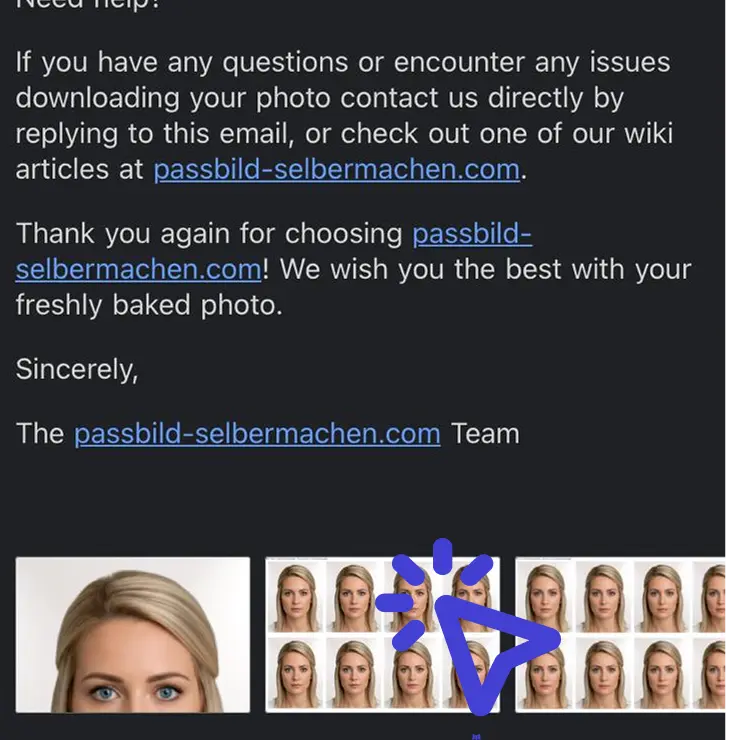
Download image from e-mail
Click on the photo that you purchased from us in your inbox.
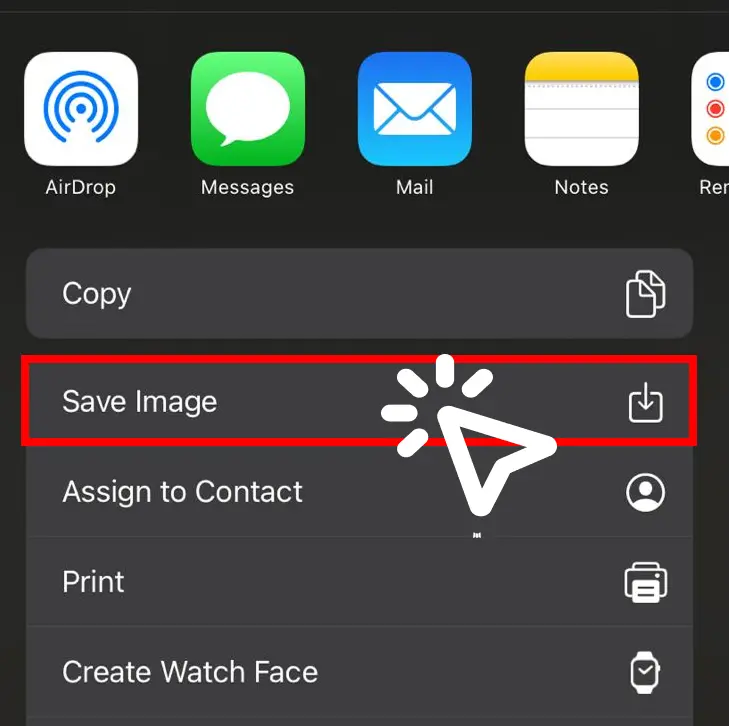
(On iPhone.) Save as image
We recommend saving the attachment as an image.
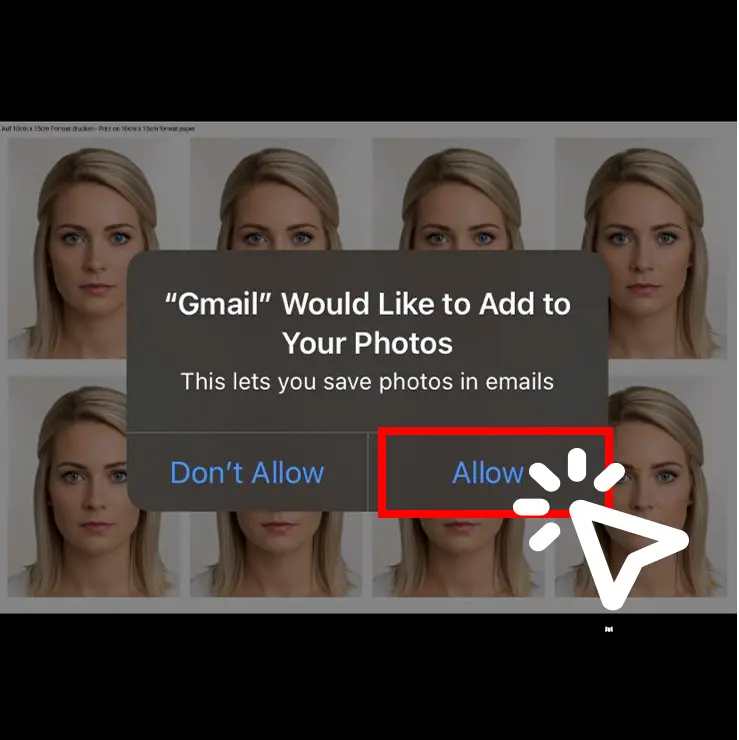
Grant permission
In some cases, the cell phone asks again whether the e-mail program may save the picture in the picture gallery.
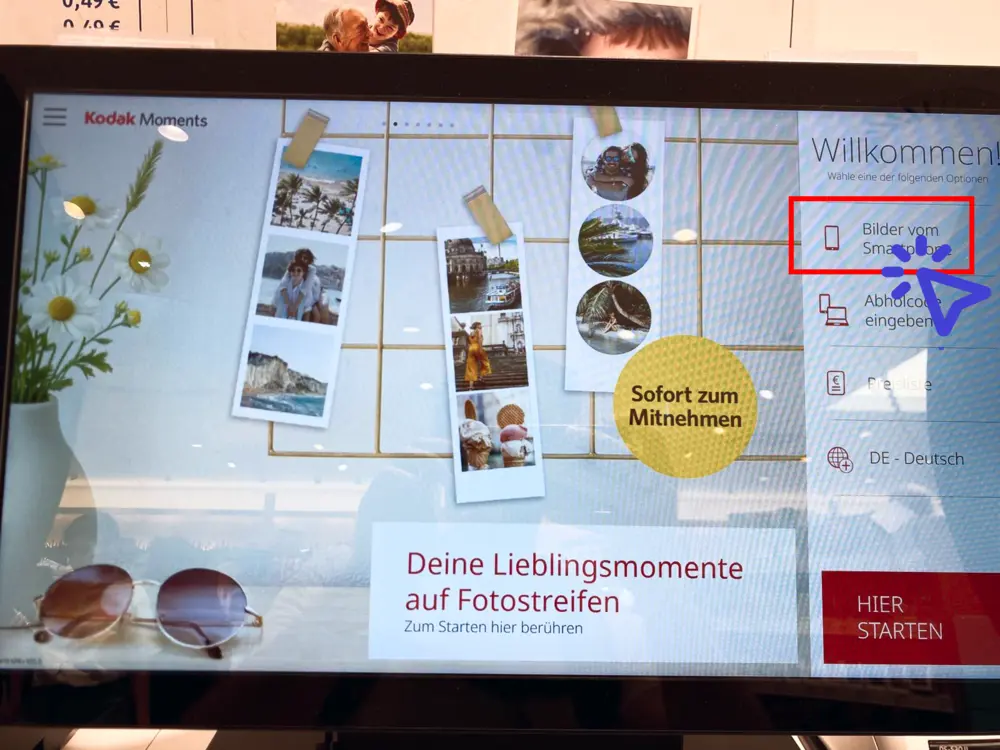
Find and start the DM photo station
We recommend clicking on pictures from your smartphone.
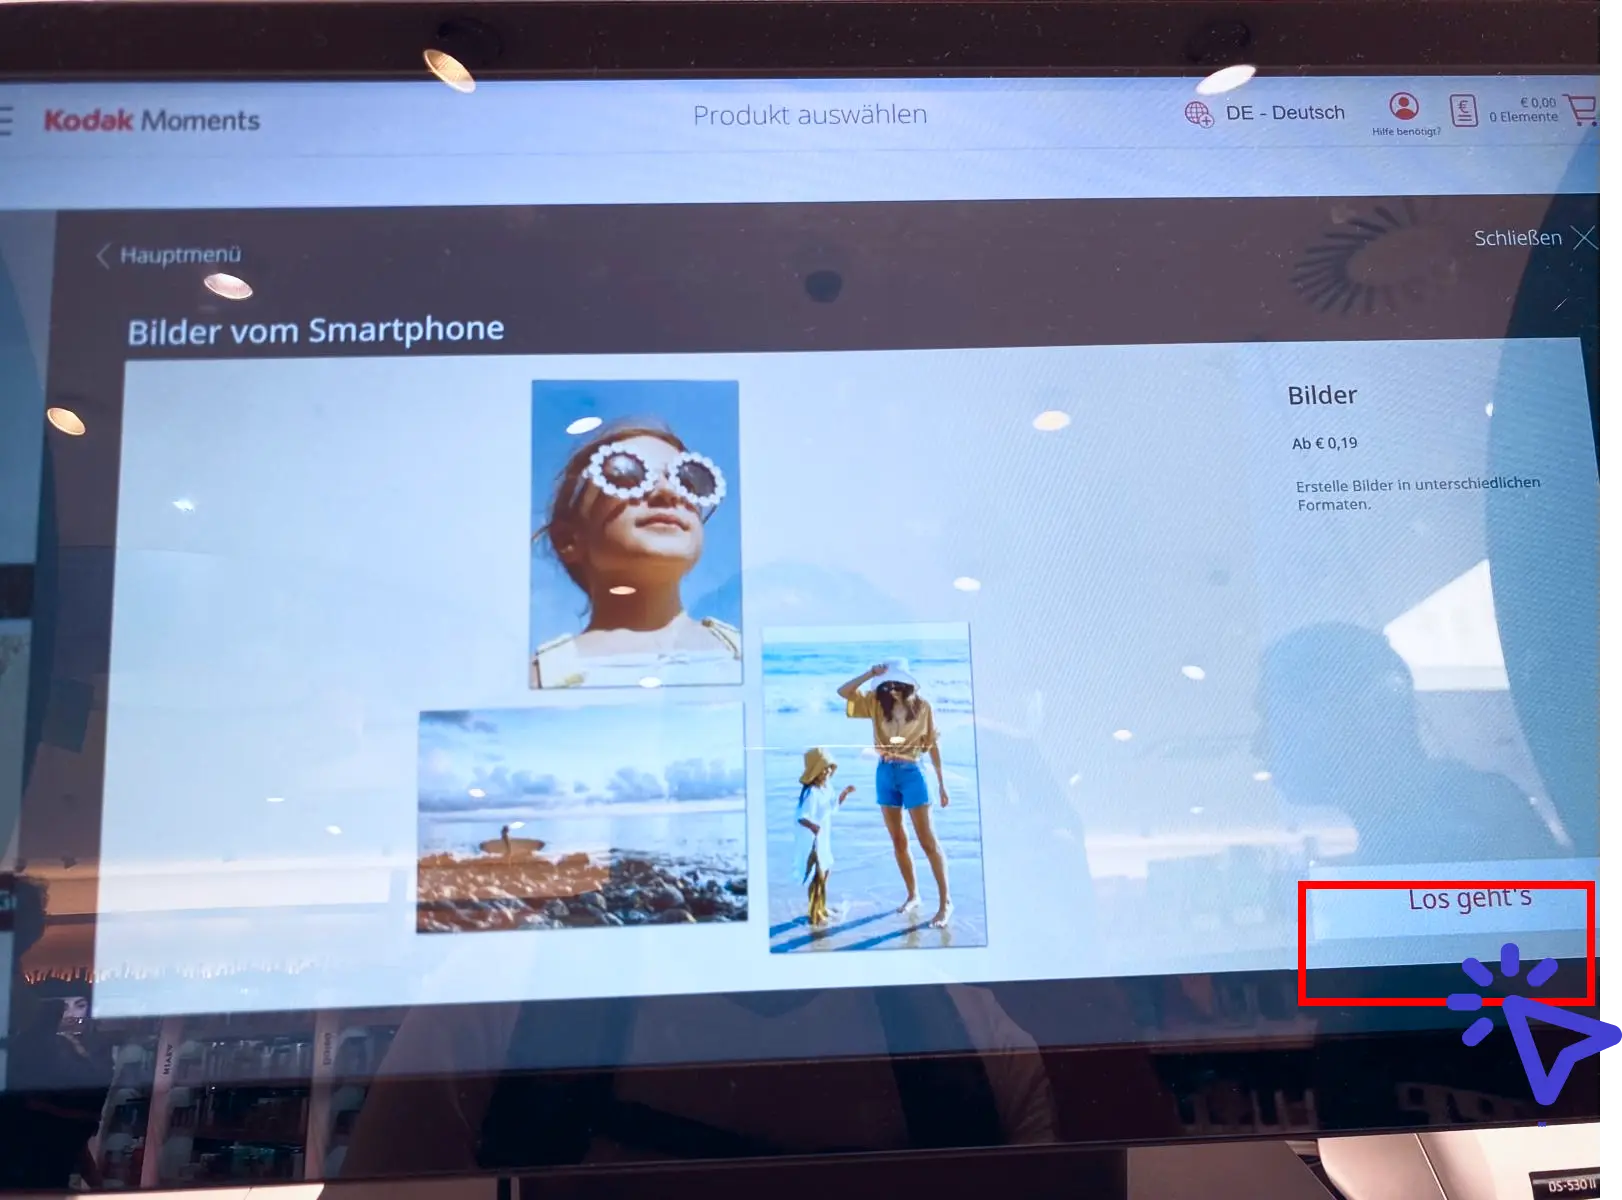
Confirm
You will be asked again whether you would like to print pictures from your smartphone for the price. Here you can press “Let's go” without hesitation.
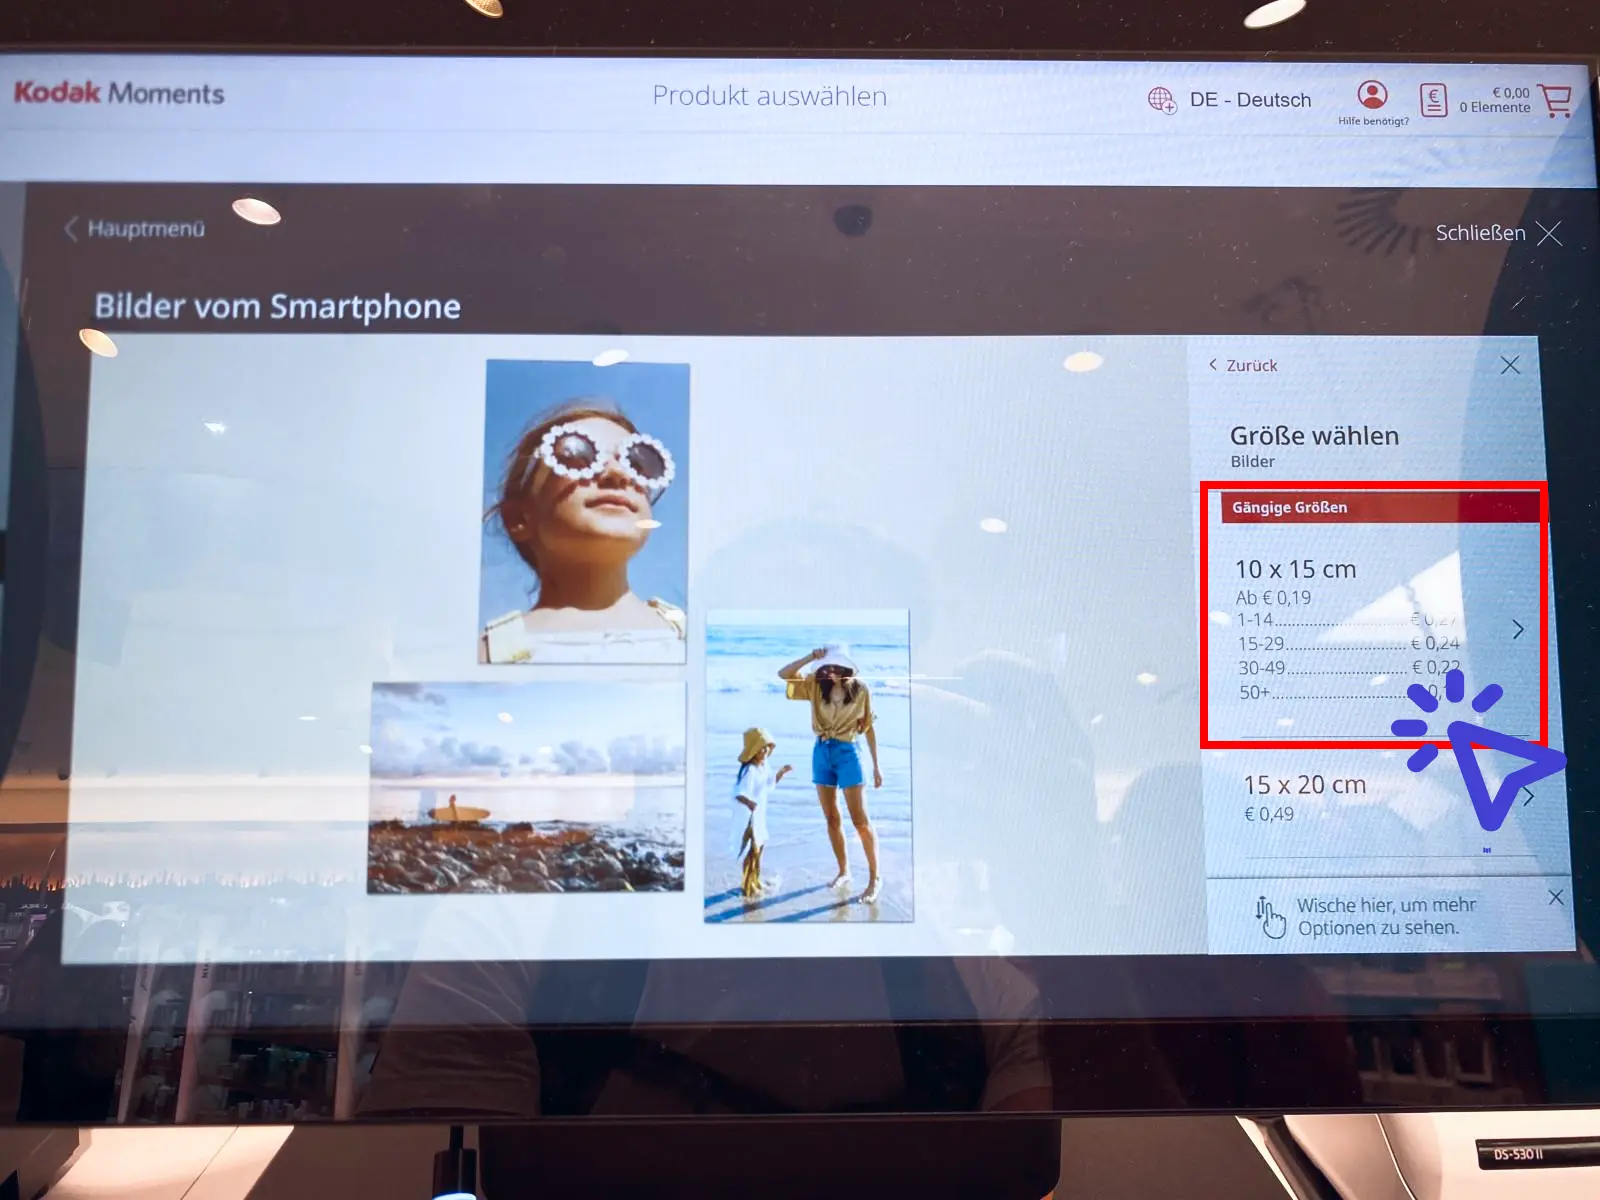
Select format
Use the standard format 10 x 15 cm for our template.
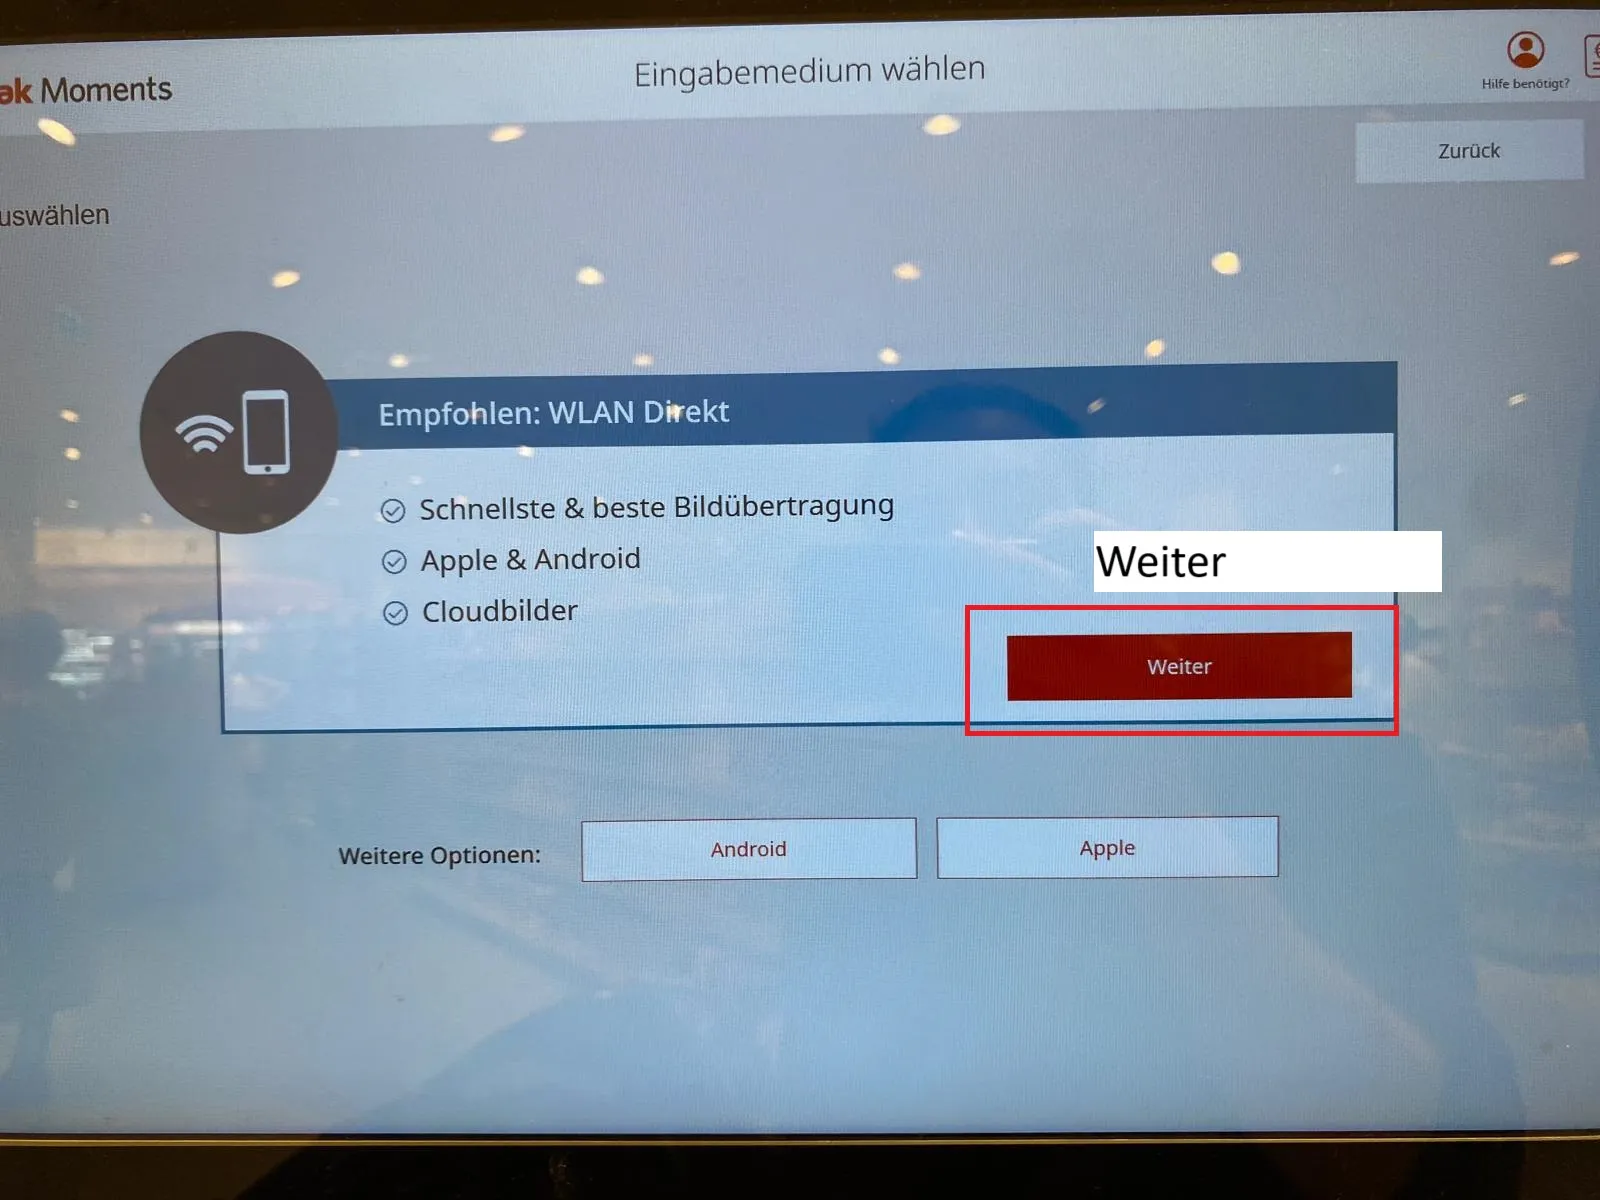
Connect cell phone to WLAN
Use WLAN Direct. When you click on “Next”, a WLAN network appears. Open the Wi-Fi networks available on your cell phone and connect to the Wi-Fi.
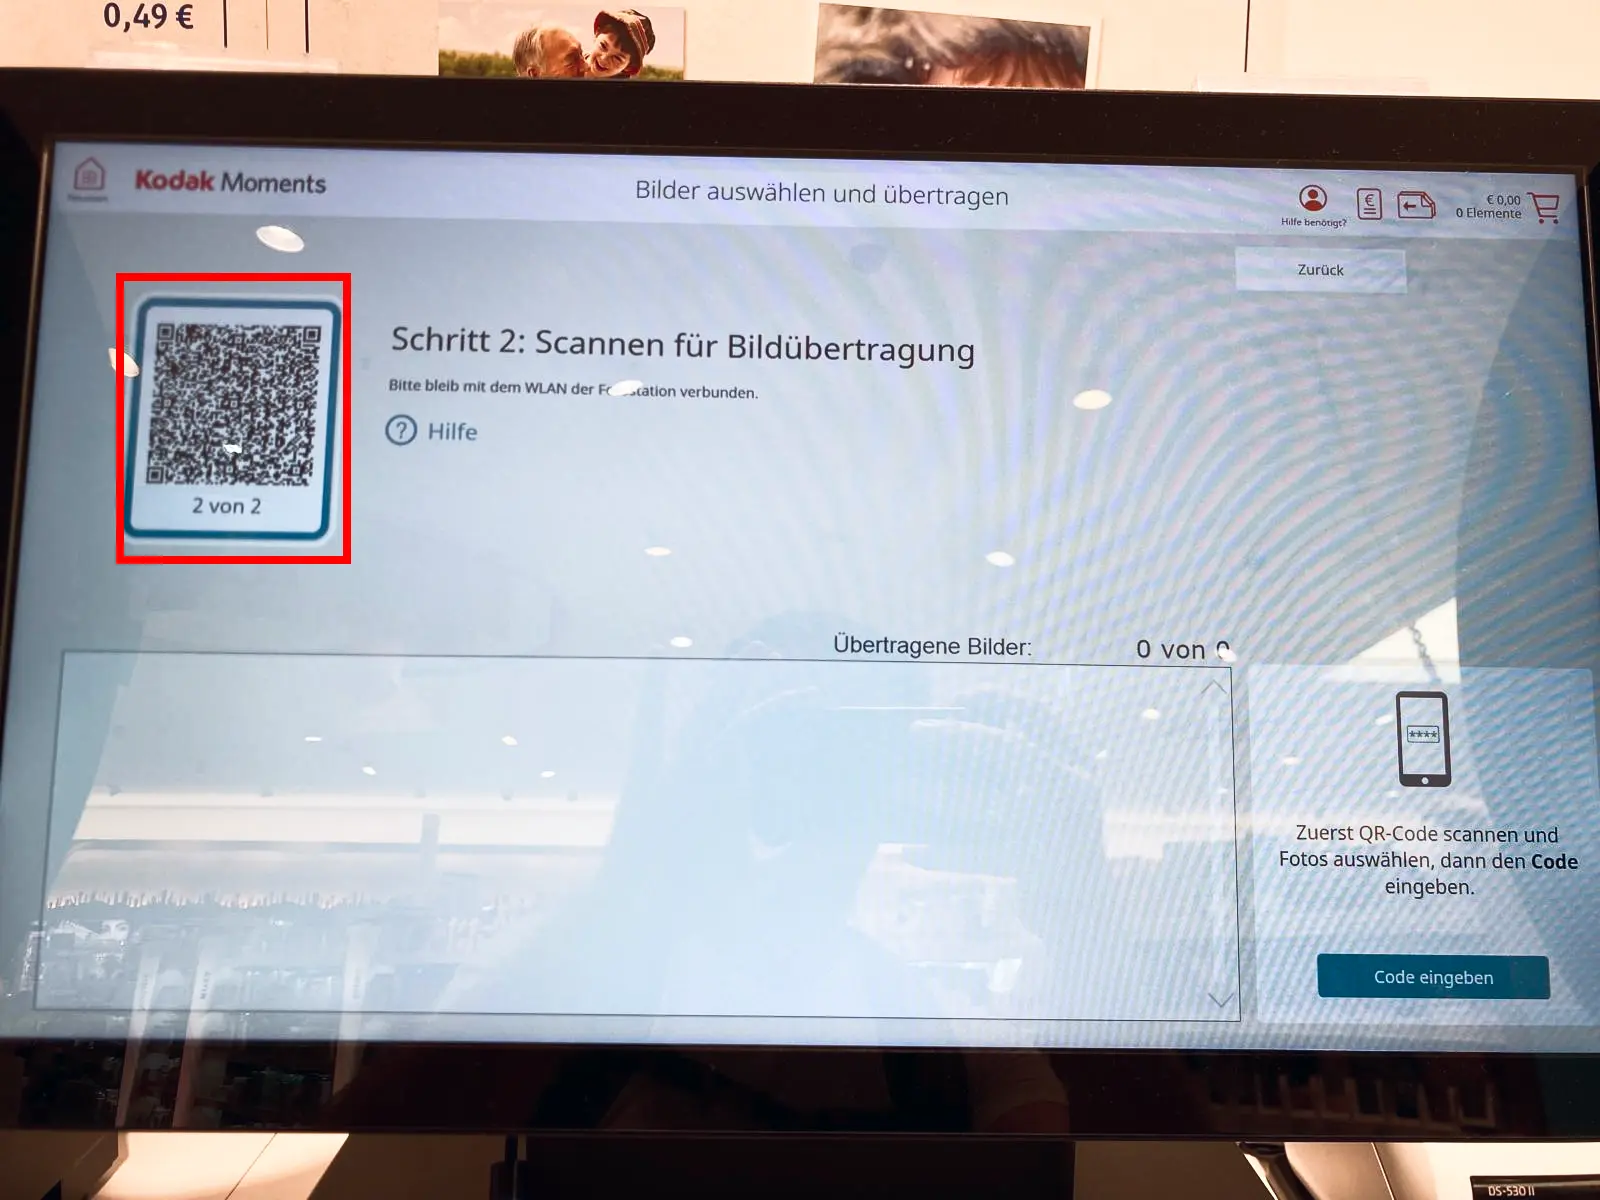
Scan the QR code or go to the website
Scan the QR code with your cell phone or go to “momentstransfer.com” in your browser. This will take you to the website.
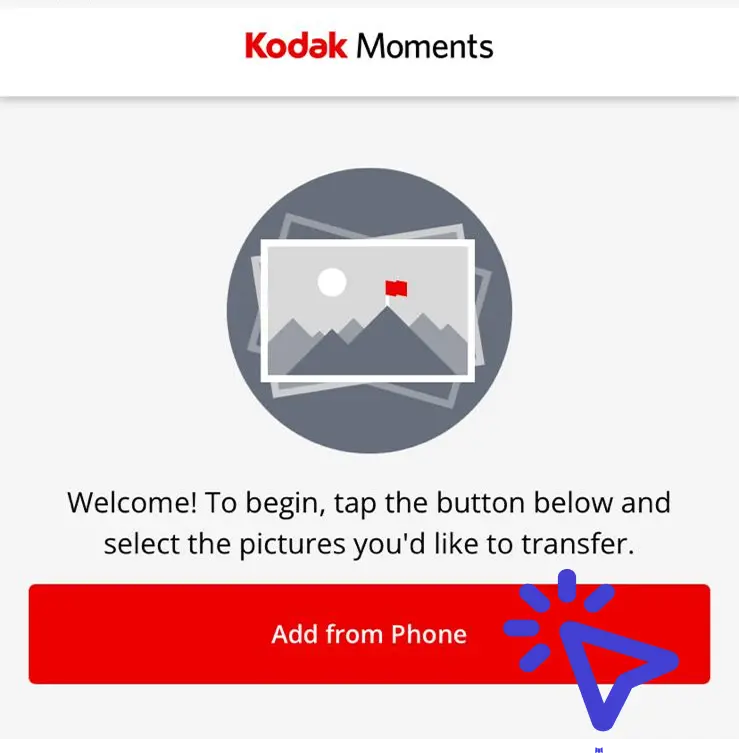
Select “Add from mobile”
Select Add photos.
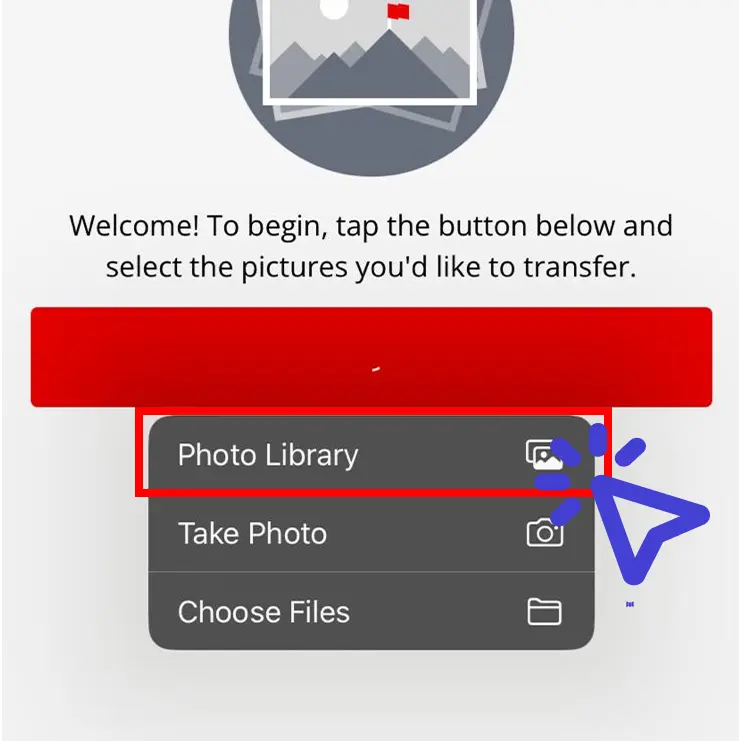
(Recommended) Select “Photo library”
Select the storage location for the photo. If you have followed step 3, select “Photo library” on the iPhone. Select the photos you want to print.
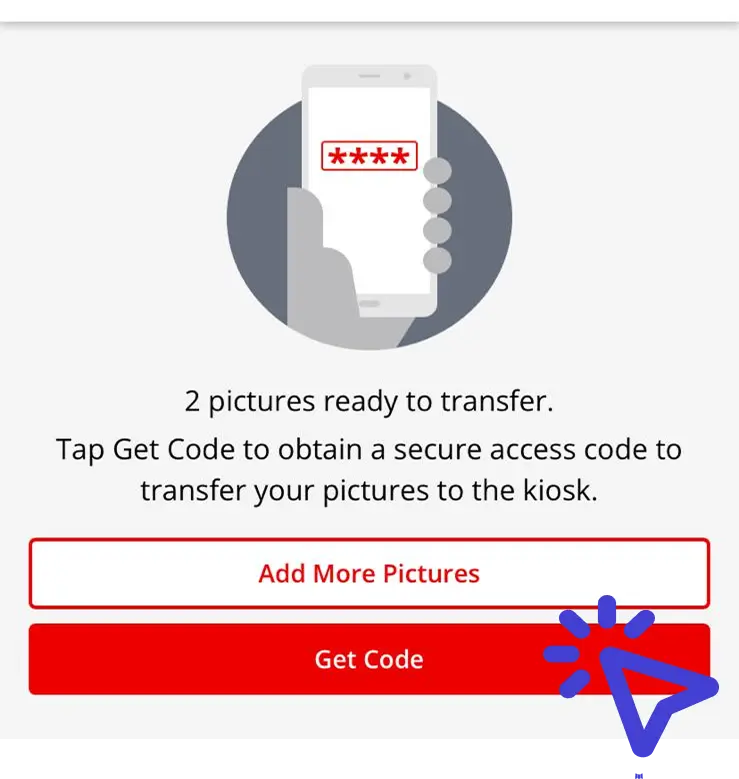
Select “Get code” after uploading
Select “Receive code” as soon as you are finished.
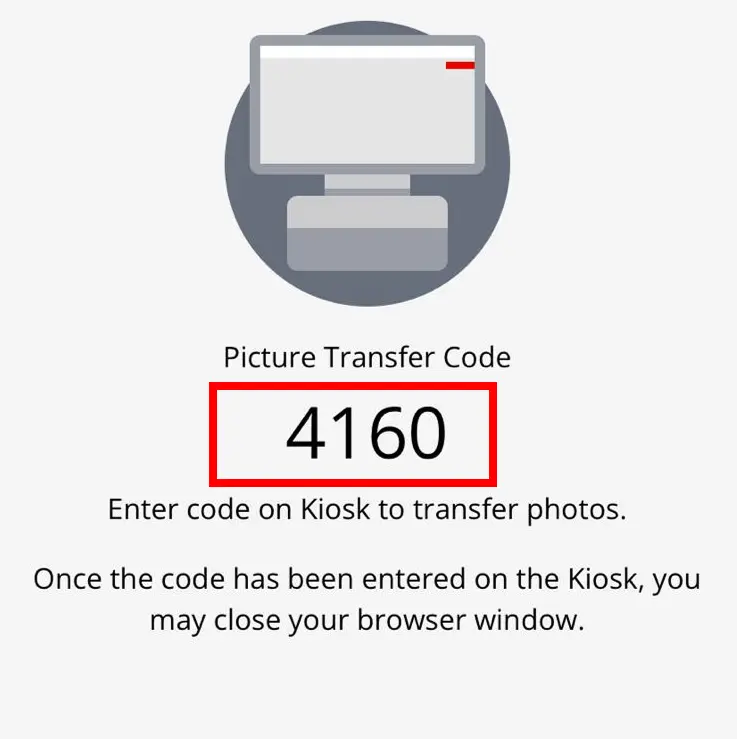
Code is visible
You will need this code in the next step to complete the transfer to the device.
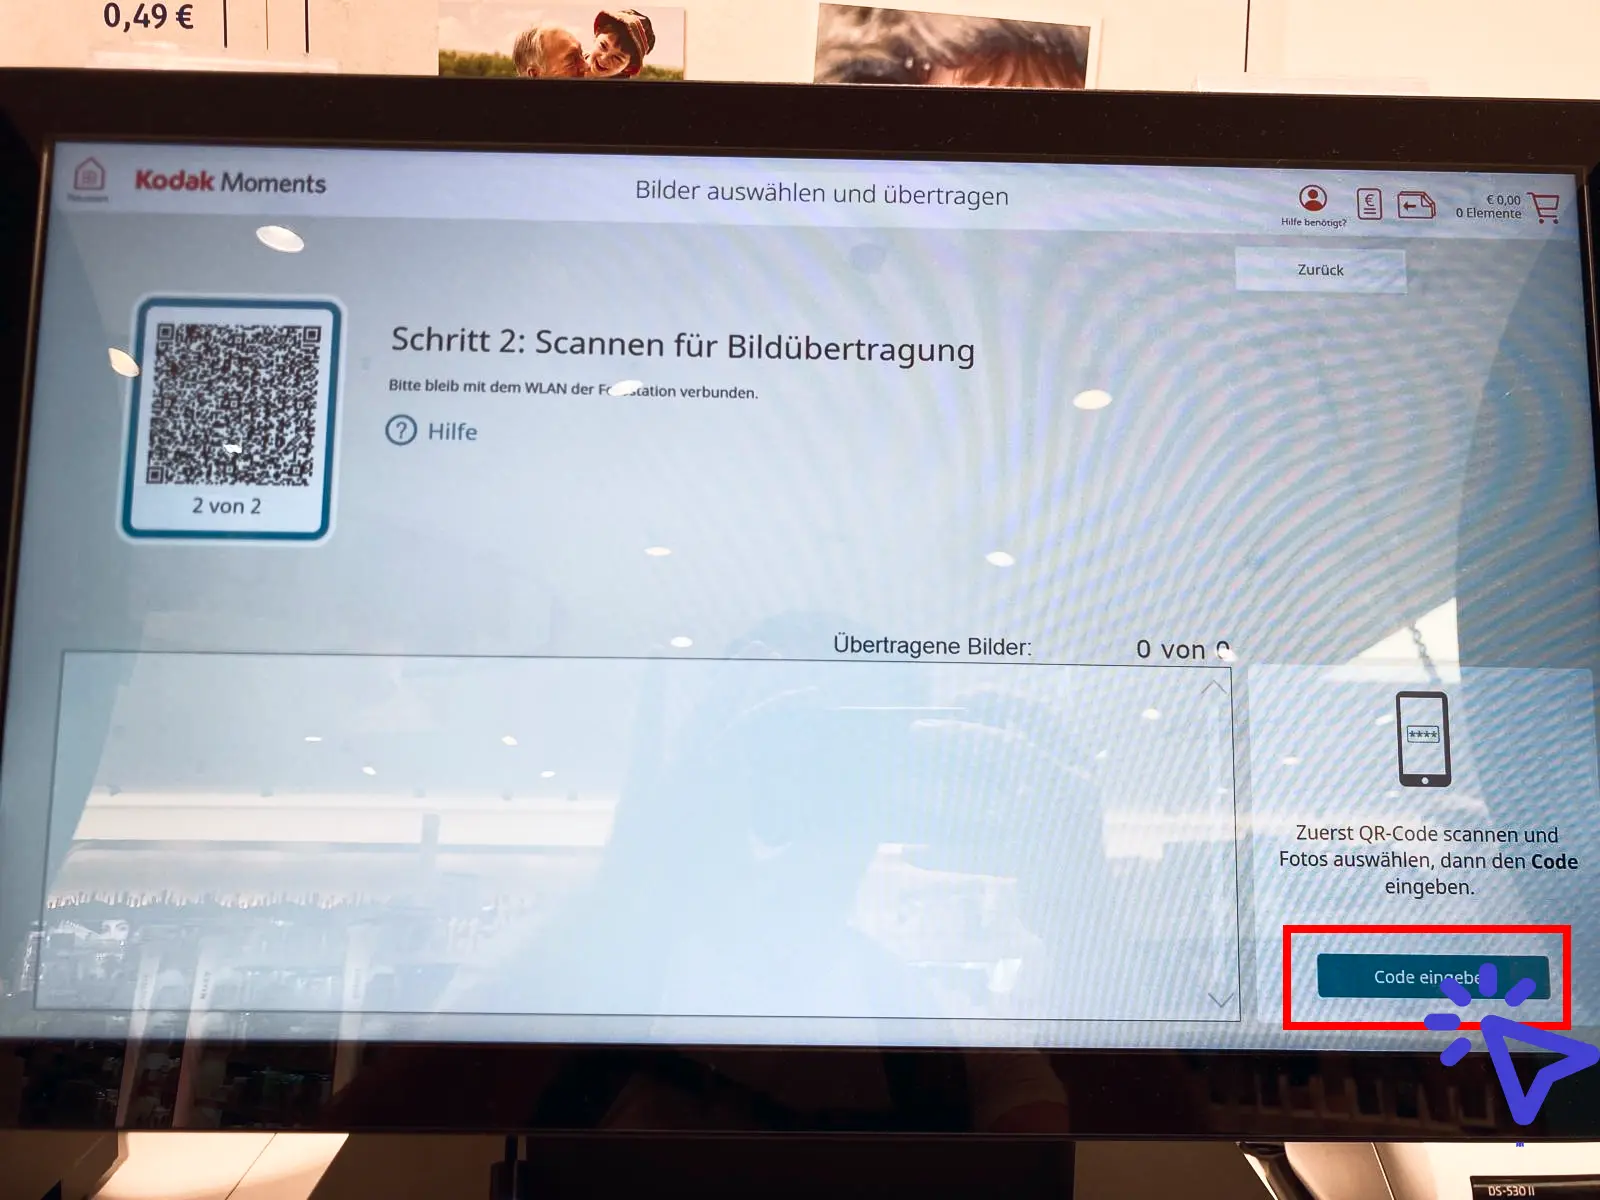
Click on “Enter code”
Now press “Enter code”.
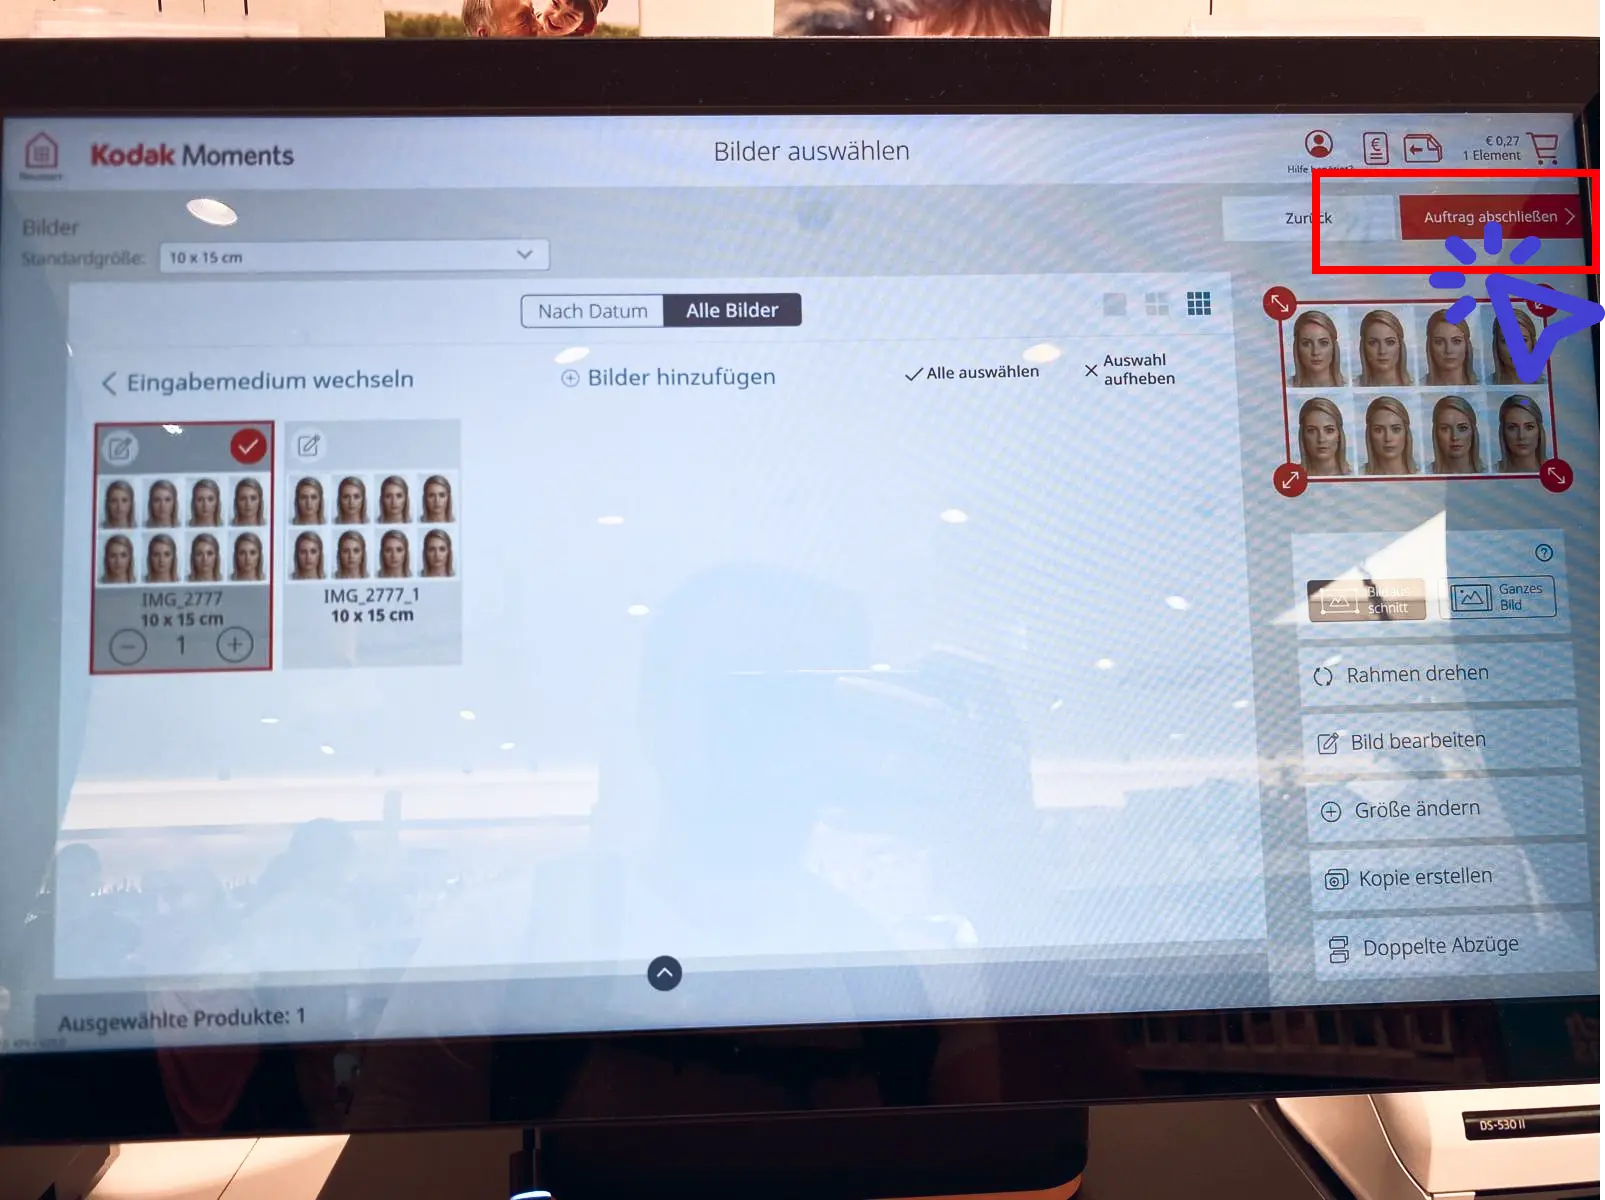
Select the photos and click on “Complete order”
All photos that you want to print should be marked with a red tick. Photos can be selected or deselected by pressing . To start the printing process, click on “Complete job” in the top right-hand corner.
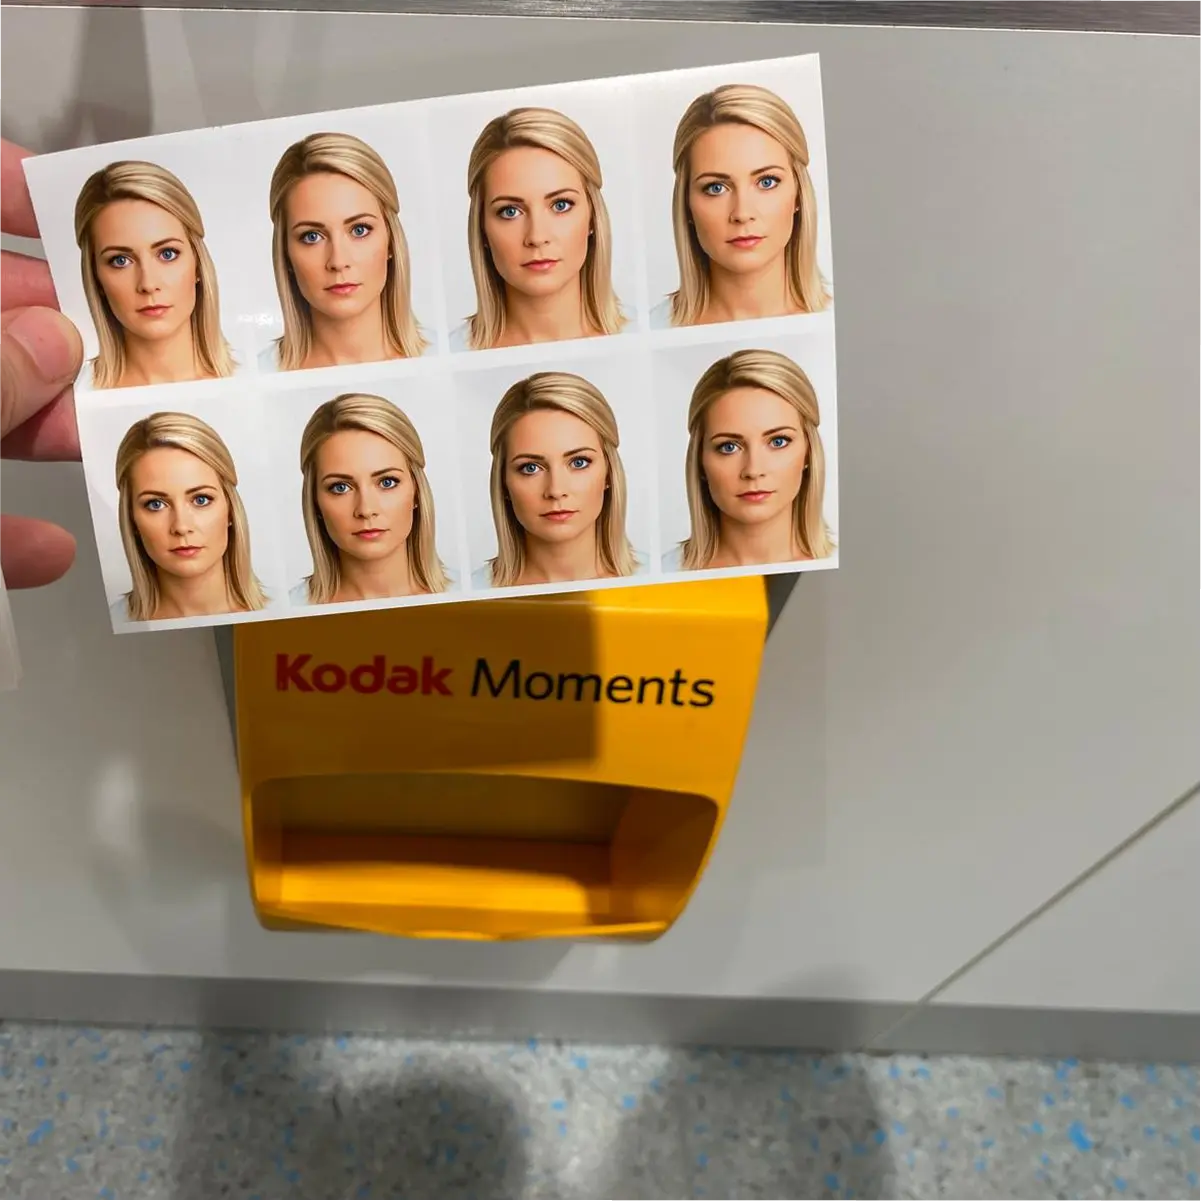
Done!
Printing may take a few seconds. The finished photos then fall out into the yellow hatch at the bottom.
No passport photos taken yet?
Create professional biometric passport photos from the comfort of your own home!
Create passport photos